Final Deliverables

CAD Design
Our team designed a virtual solid model of our custom hip implant idea using Autodesk Inventor. We modeled different components separately for both convenience and accuracy and finally, assembled the separate components in a fully constrained assembly model.


These two images (above) show our final custom hip implant design. The image on the left is the final model shown in from an isometric angle. The image on the right is the same model, but it appears slightly different as we used inventor's texture feature to appropriately model our design according to the materials we used. The ball and neck component is displayed with a silicon nitride alloy while the stem and the tip are composed of a titanium alloy (Ti6Al4V).
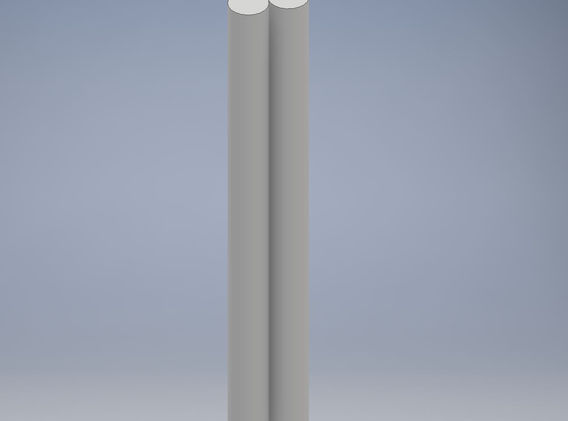
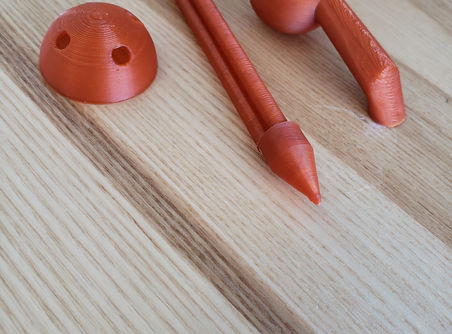
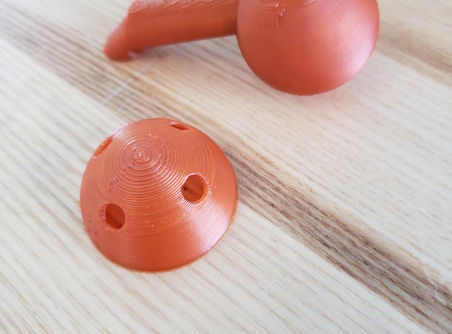
The slideshow (left) showcases the separate parts that we designed before compiling the components into a single assembly. We modeled the acetabular cup on its own, the tri-beam stem on its own, and the bottom conic platform on its own. We decided to model the ball bearing and the neck together. All dimensions for these components were strictly modeled around the CT scans for our client's femur.
3D - Printed Prototype
As a team, we were required to produce a 3D -Printed prototype of our custom modelled hip-implant for Dianne Chambers. We used PLA (polyactic acid) as the material of our prototype which was printed from a PRUSUA MK II 3D - Printer.
In order to ensure that we were using appropriate printing practices and that our CAD modeling was accurate and to a correct scale, we documented information about our expected and actual printing information. Our documentation was rather accurate other than the initial printer failure which affected our first prints (see log book)

Poster Presentation

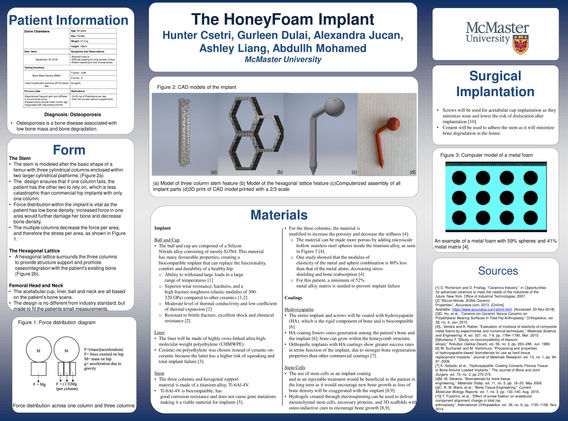
To showcase our project and design, we participated in the iBioMed poster presentation showcase where we presented our model and research to faculty staff, mentors, and peers. *Click for enlarged image.


